
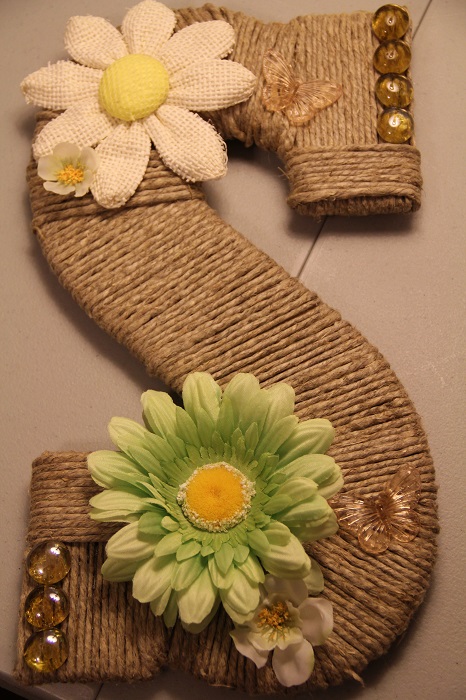
DIY: Letter S Wreath
Yes, once again, I’ve been inspired by the creative genius of DIY giants I’ve discovered on Pinterest. I’ve “pinned” more ideas than I’ll ever get to in my lifetime, but a gal can dream right?
I saw something similar to this “Letter S Wreath” from another Pinterest crafter, and I simply tweaked it to make it my own.
Supplies needed:
- Letter of your choosing
- Twine
- Hot glue and glue gun
- Scissors
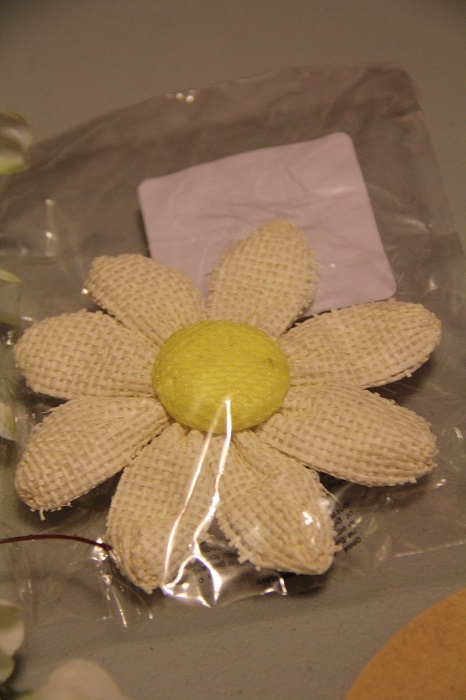
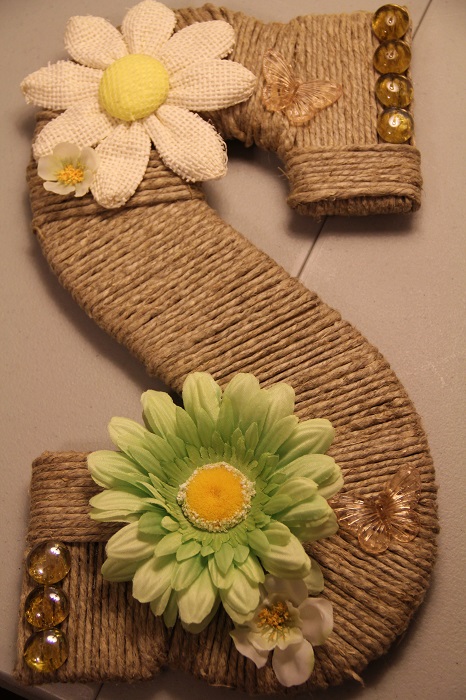
- Embellishments of your choosing (I used silk and burlap flowers, gemstones, and plastic butterflies)
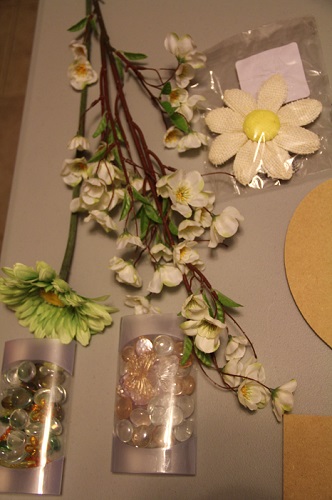
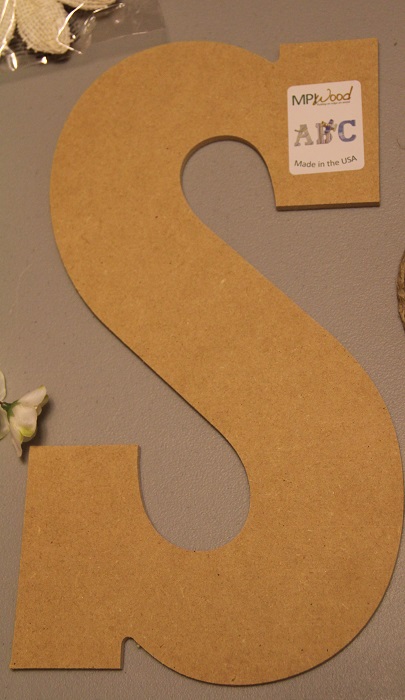
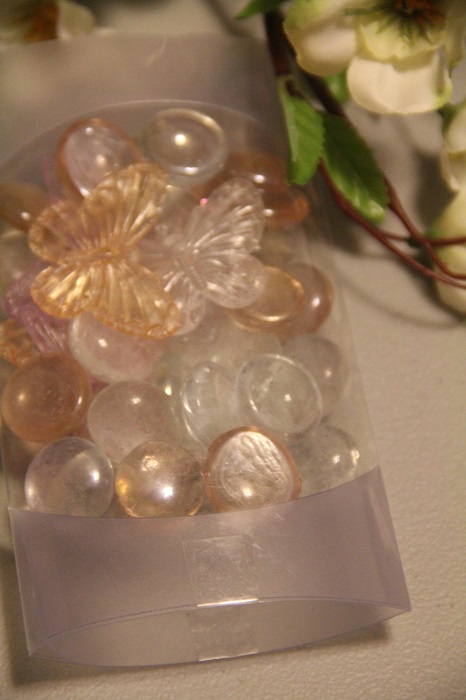
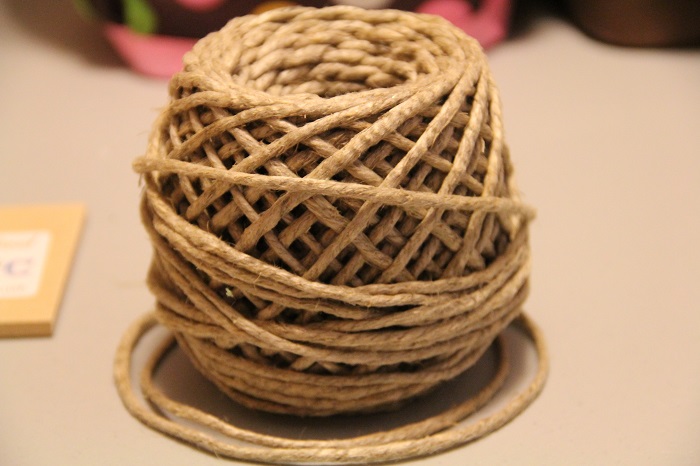
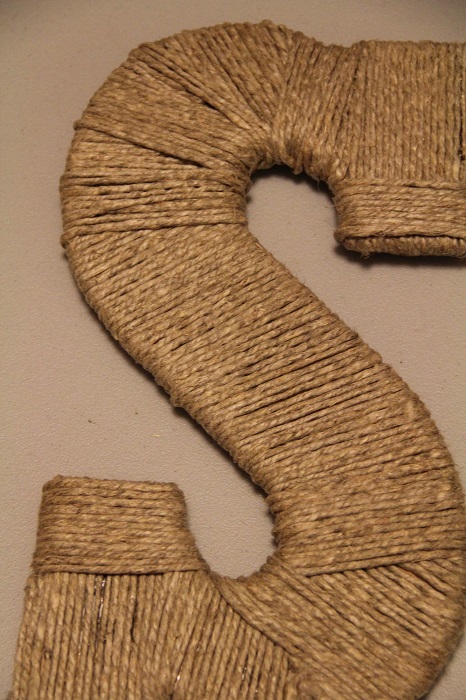
I started by wrapping the twine around the letter and hot-glued in places, as needed. I will say – the letter “S” was a difficult one to wrap, with all the curves. Had to get a little creative, even in the process of wrapping.
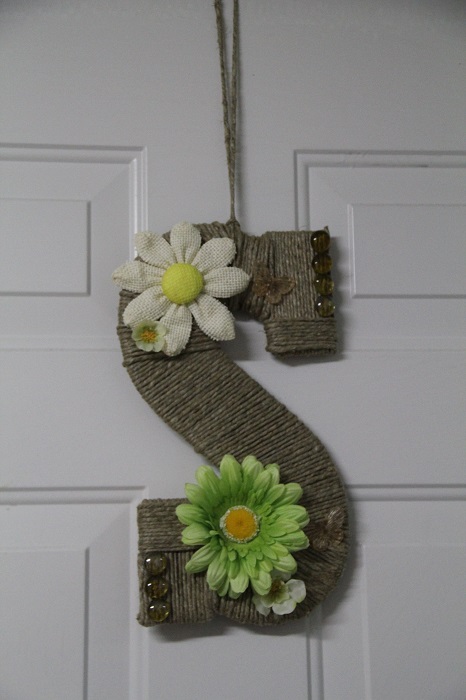
After finishing up the twine portion, I chose which embellishments I wanted to use to help jazz it up. I ended up selecting ones that would work well with my kitchen color scheme, because it’s going to be hung on the door in our kitchen leading out to the deck.
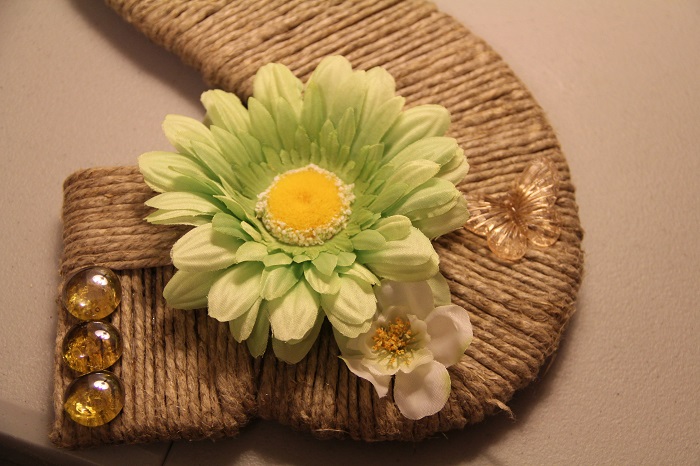
And the nearly finished product…
Now hanging on the door…
Can’t wait to see you back here tomorrow! Have a blessed Thursday blog friends!
As an Amazon Associate, I earn from qualifying purchases.